We are delighted to share top tips from Dr. Sara Ernst on recording effective teaching demonstrations as you compile your teaching video submissions for NCKP 2023: The Piano Conference. Sara is Director of Teacher Engagement for the Frances Clark Center and a member of the Executive Committee for NCKP: The Piano Conference. We invite you to submit your teaching videos via our proposal submission portal by 11:59pm PT on Monday, April 10, 2023.
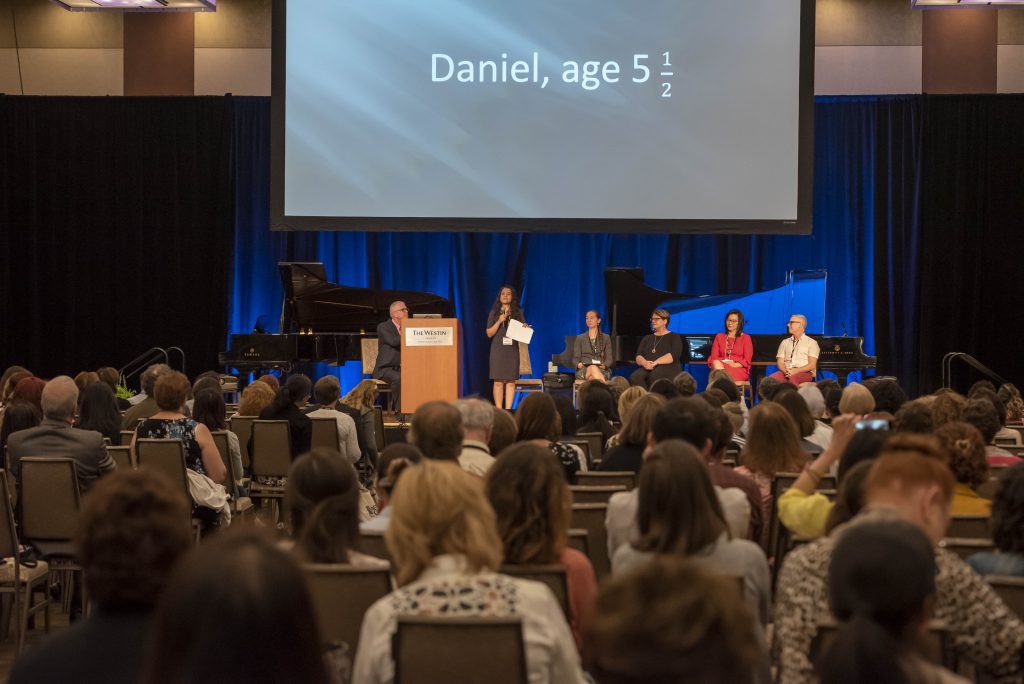
Teaching demonstrations have a long history at NCKP: The Piano Conference, the roots of which can be traced back to Frances Clark. At the New School for Music Study in the 1970s, Frances Clark and Louise Goss were innovators in teacher education as they began videotaping classes and lessons. They were using reel-to-reel tapes and large camcorders! Thankfully today we can rely on cell phones and digital cameras to capture amazing high-definition video, and we can edit, post, and share with relative ease.
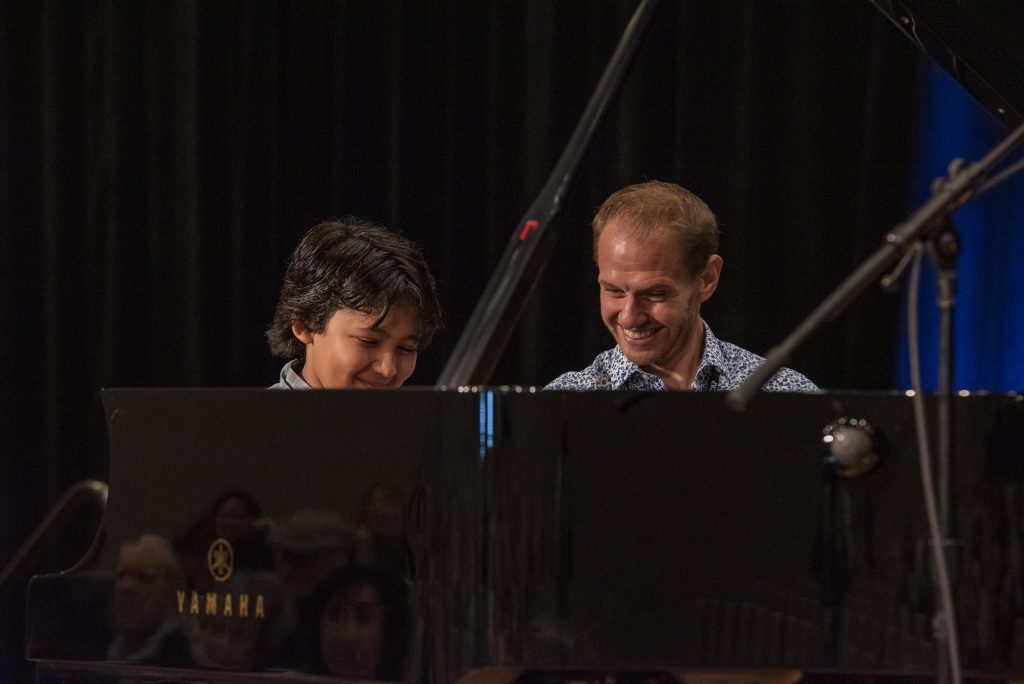
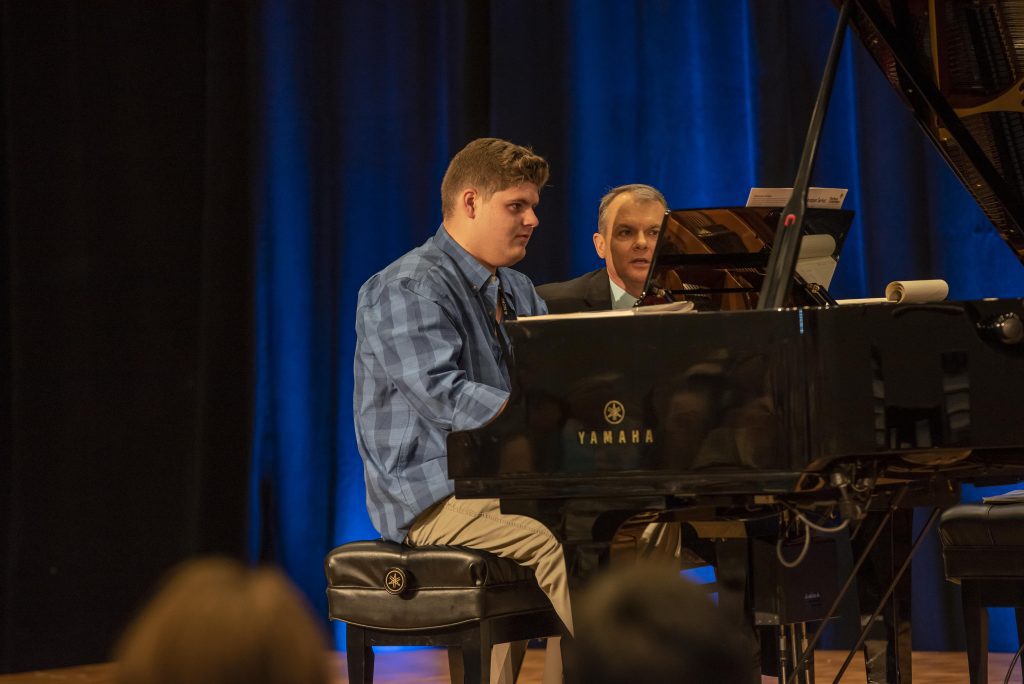
Different from a masterclass, a teaching demonstration showcases a student working with the primary teacher in a customary studio setting. Through the use of lesson videos, we observe a snapshot of music learning and explore best practices by discussing individualized teaching approaches. This provides us an opportunity to reflect upon learning, music making, and pedagogical process, especially in how teachers meet the unique needs of students.
Consider submitting a video of your teaching for an opportunity to share this at NCKP 2023. Read below for several strategies to create effective teaching demonstration videos:
1. Select students based on strengths
There will be certain students in your studio who will be ideal for a recording project. Those include students who are regularly interactive and engaged. Avoid students whose learning may be negatively impacted by the pressure of video recording, and those who may become overly distracted by the presence of cameras. There are also ideal times for recording videos. Great moments can often be captured in lessons that prepare for recitals or events, or when a student has reached a period marked by growth and motivation.
2. Receive approval and consent
Whenever documenting lessons with video recording, it is crucial to receive approval and signed consent from parents/guardians and students. Some students and/or caregivers may be hesitant with the prospect of recording lessons; sharing how the video will be used and the purpose of the project will often quell any concerns. If you are teaching at a school, academy, or other institution, there may be specific approvals and requirements. If applicable, check with the administration or board. Keep records of approval and consent as you build your video library.

3. Invest time in setting up
An ideal camera angle will capture the student, the teacher, and the piano. This is often an exacting, finicky task, especially with a smaller room. These strategies may help:
- Use a tall tripod for security and stability. An ideal tripod will extend to 60 inches in height.
- Place the camera/tripod on a table top, desk, or piano lid to find ideal angles.
- Position the camera near shoulder height, angled slightly down. This can often capture a wider view.
- Mark the tripod height and location to easily reset the tripod another day.
Check your angle and device to avoid these common problems, as much as possible:
- A blocked student: if both teacher and student are seated, often the teacher will completely cover up the view of the student.
- A cutoff teacher: if you often stand while teaching, ensure the camera catches you when standing, as well as seated.
- Poor audio for voices: if the camera is too far away, the microphone will not pick up portions of the spoken dialogue.
- Incomplete video: plug the camera in to power (or fully charge your phone battery), and check the recording space to ensure ample time.
- Poor file quality: verify that your device is set to high-definition audio and video quality.
If you are recording an online lesson, set the platform to create a “gallery” video, recording a continuous stream of both student and teacher. This will allow for the viewer to follow the lesson content and the interaction.
4. Record several weeks of entire lessons
The goal with a teaching demonstration is to highlight student learning and teaching process as it authentically occurs. Even with the proliferation of recording today, students and teachers will initially adjust their behaviors when being videotaped. If many entire lessons are recorded, both teacher and student will adapt over time—in other words, they will eventually just be themselves! Then, the camera lens can capture great moments of teaching and learning.
5. Organize your videos and take post-lesson notes
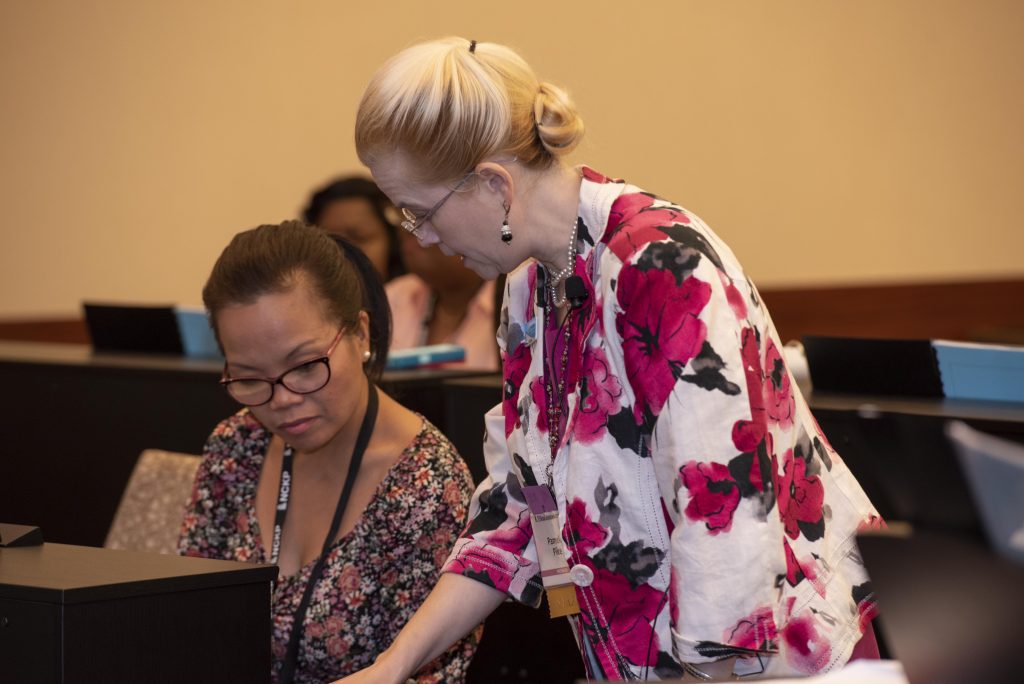
One challenge of recording today is keeping track of all the files! Download and save your videos with logical titles (student name and date, for instance). After each lesson, take dated and detailed notes about the lesson, including the order of activities, the student’s assignment, notable moments, and pedagogical reflections. This will help you recall, analyze, and discover ideal segments for a teaching demonstration video.
6. Find ideal segments to submit
Ideal teaching demonstration videos (10-minute maximum) will show students engaged in deep learning experiences. The segment could highlight:
- A student who demonstrates comprehension in a compelling way.
- A student with a palpable motivation to try and explore new concepts.
- A multi-week sequence of activities that culminates in a student’s increased ability/knowledge.
- A coaching session that results in a student’s artistic performance.
- A student’s inspiring and creative approach to learning and playing.
- And more…
Please consider submitting a video for an opportunity to participate in a teaching demonstration at NCKP 2023. Review all submission and video requirements by clicking here.

Submit your teaching demonstration videos for NCKP 2023: The Piano Conference by 11:59pm PT on Monday, April 10, 2023.